| Preview | Product | Price | |
|---|---|---|---|

|
BZE 62 inches Extendable Selfie Stick Tripod with Wireless Remote & Phone Holder, Portable Aluminum... |
$16.99
$14.59 |
Buy on Amazon |
Last update on 2025-09-14 at 22:01 / Affiliate links / Images from Amazon Product Advertising API / Product prices and availability are accurate as of the date/time indicated and are subject to change. Any price and availability information displayed on Amazon at the time of purchase will apply to the purchase of this product.

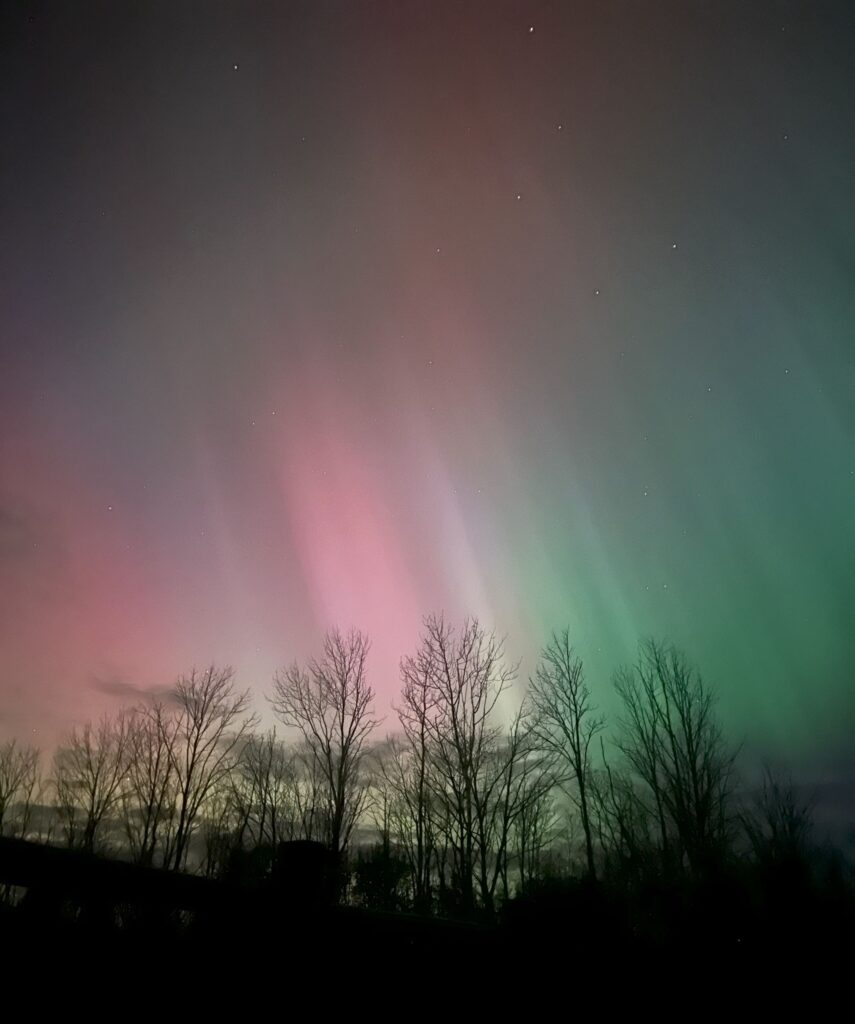
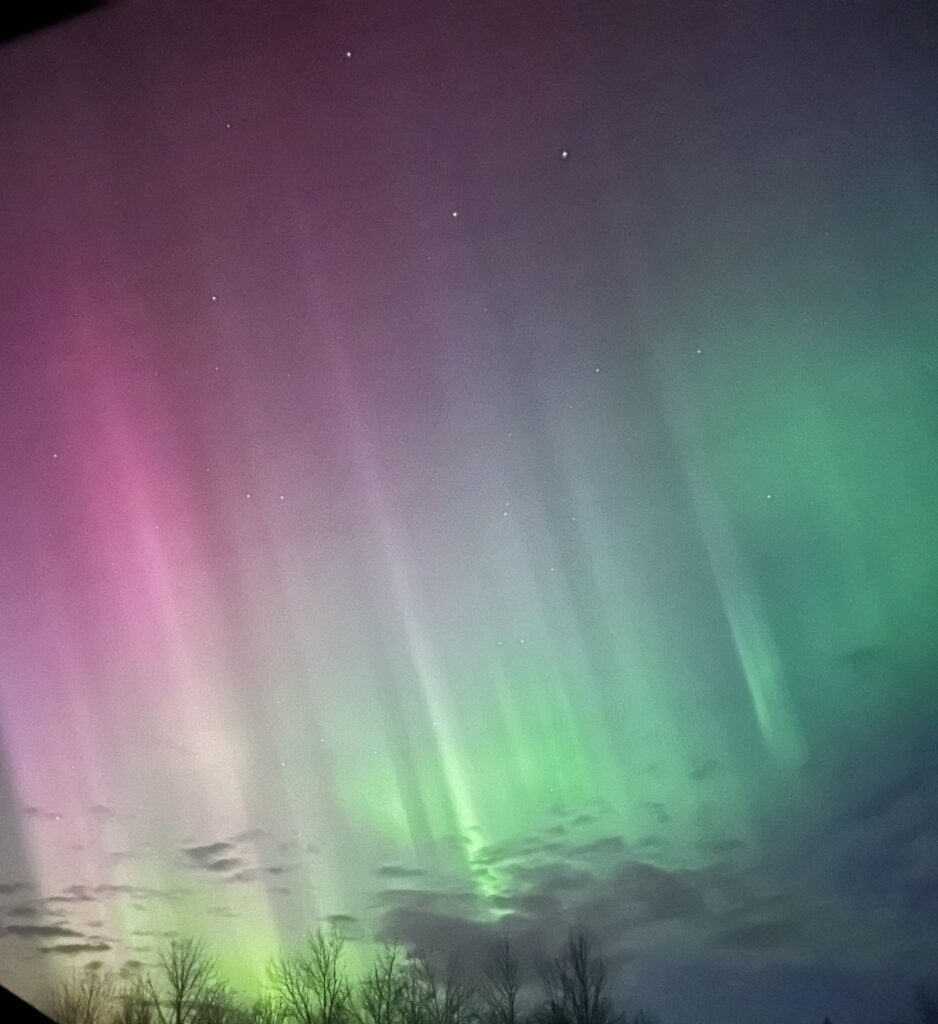
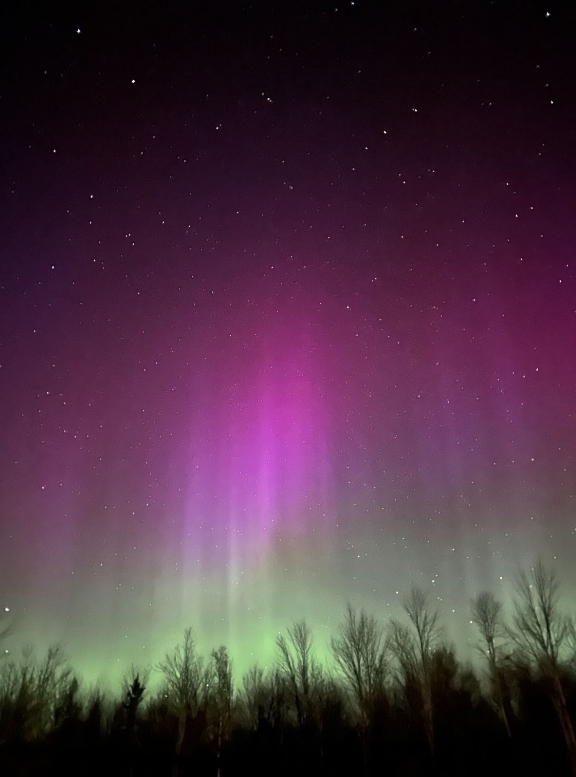
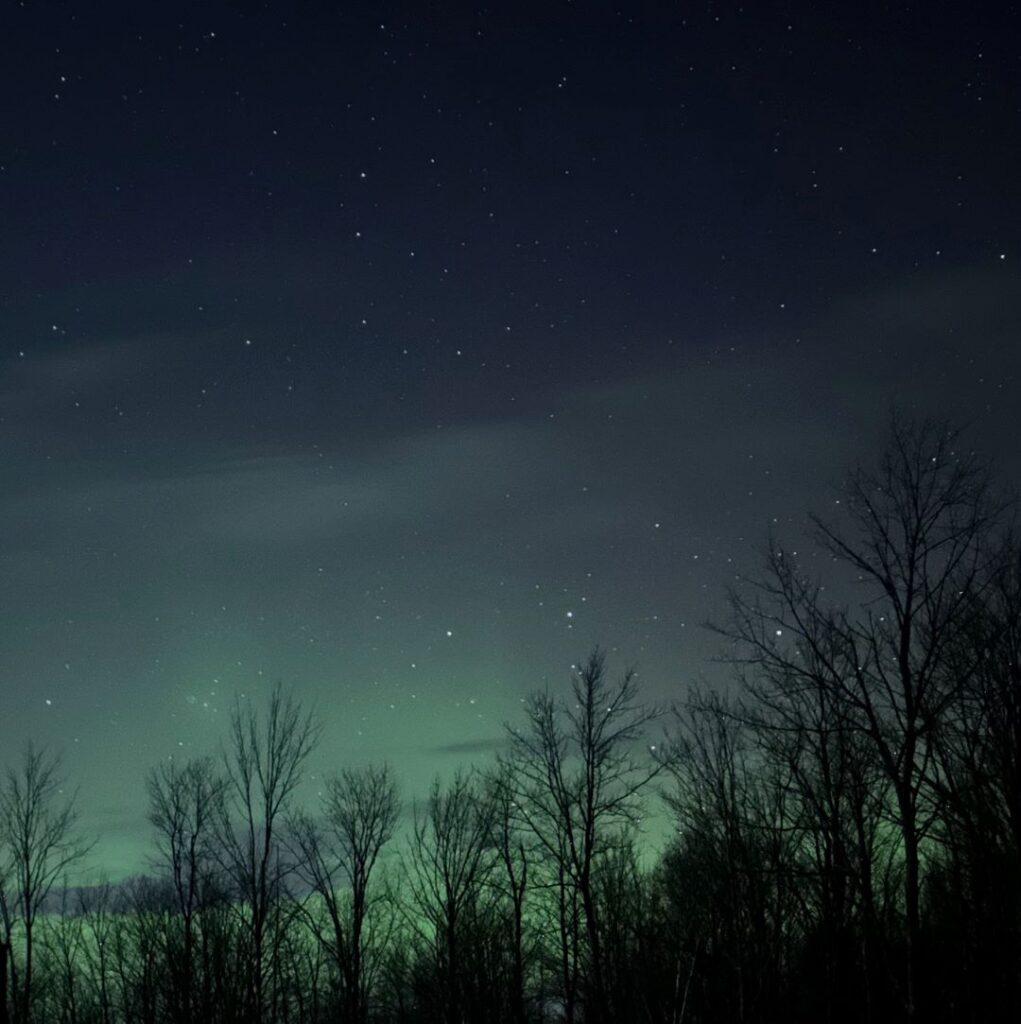
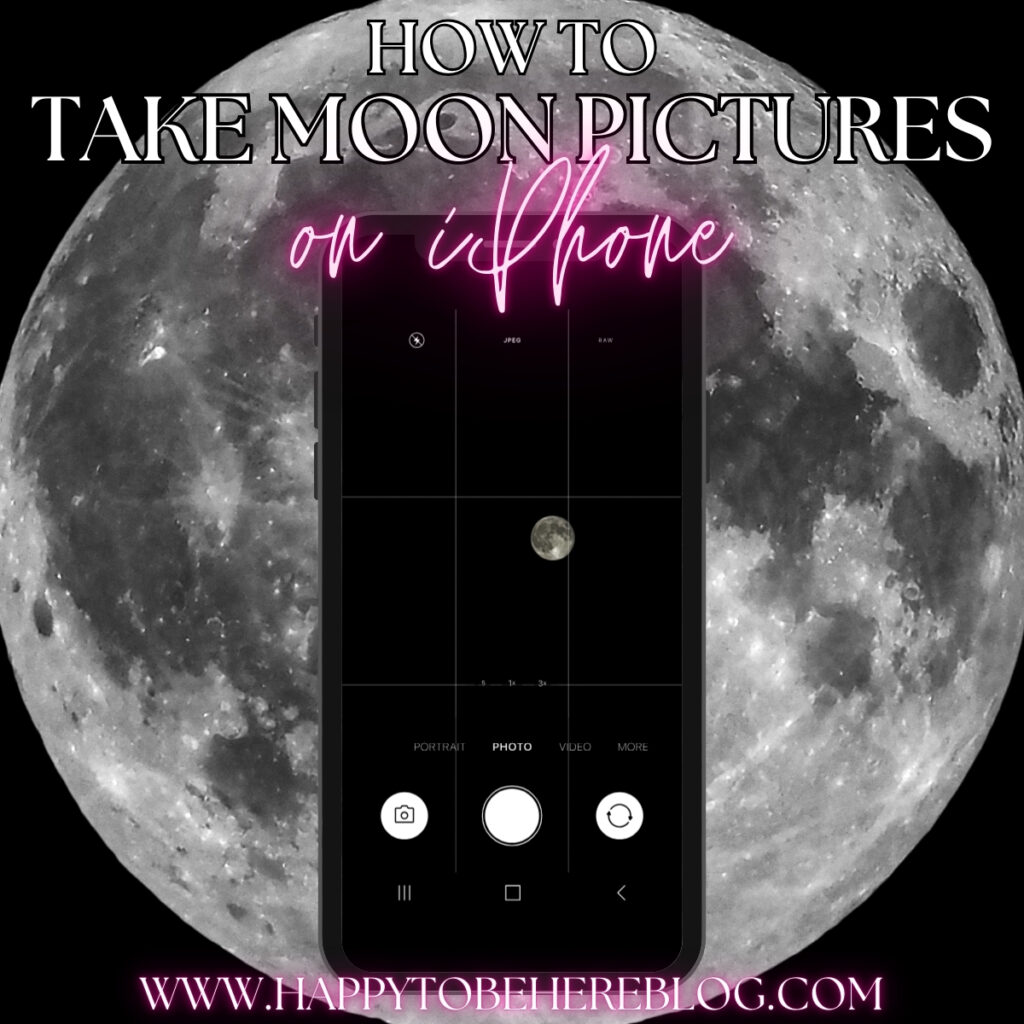

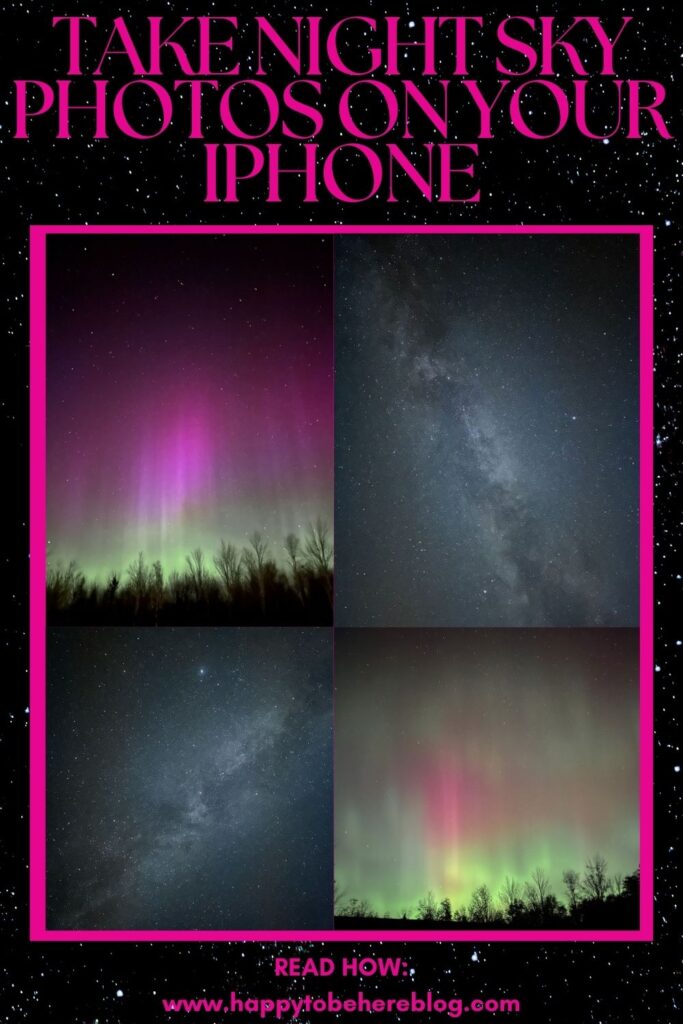
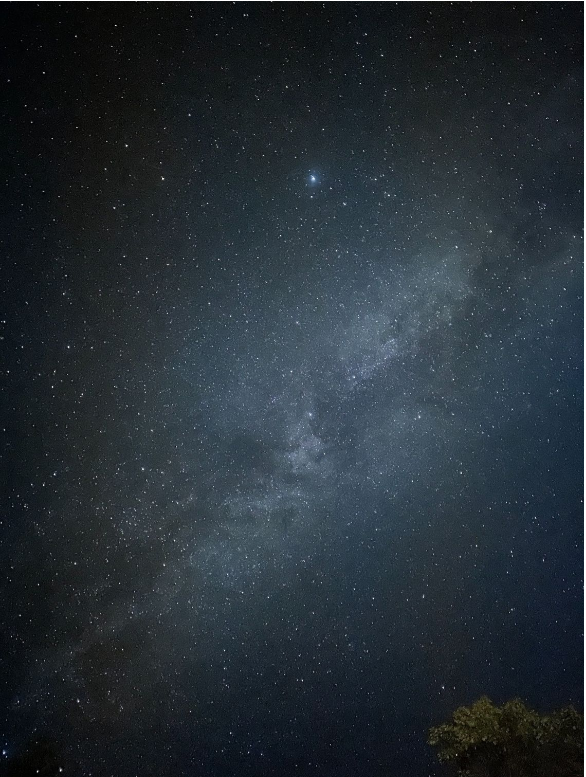
How To Take Night Sky Photos With Your iPhone
No fancy camera required! Take beautiful photos of the stars, Milky Way, and Northern Lights with your phone.
Pin
Facebook
Email
Equipment (Shop on Amazon)
- iPhone
- Travel-friendly tripod technically optional, but it makes a huge difference!
Instructions
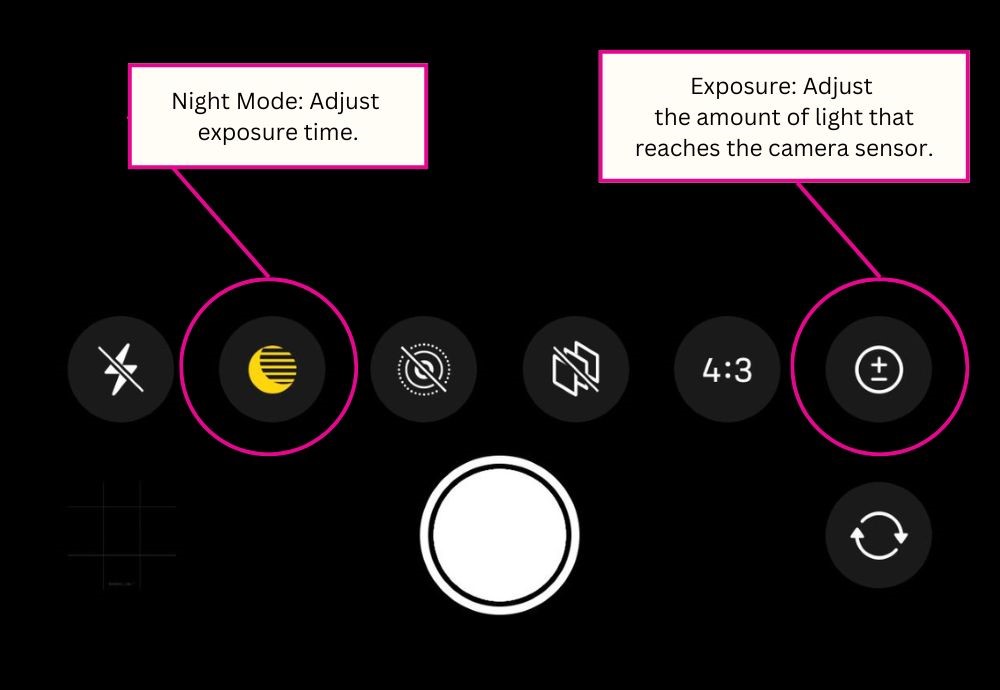
- Open your iPhone’s camera app. If your iPhone model supports Night mode in Portrait (see the list above this card to check), scroll over to Portrait mode and ensure your zoom is set at 1x. If your iPhone model does not support Night mode in Portrait, simply stay in normal Photo mode. If you are outside and it’s dark, Night mode should automatically turn on. The icon looks like a crescent moon with lines coming out of it, and it should be yellow if it is on.
- Tap the upward-facing arrow at the top of your screen. This will open up settings at the bottom of your screen. Click the Night mode icon and move the slider to adjust the exposure time (up to 10 or 30 seconds, depending whether you are using a tripod or not). See my notes in the post content above for the best exposure time for Northern Lights vs the stars/Milky Way.
- Take your photo! If you are not using a tripod, make sure you hold your phone very still. If you move too much, crosshairs will appear on the screen to help guide you.
Notes from the Happy To Be Here Kitchen
Read more on what exposure time is best, which tripod is my favorite for night sky photos, and a lot more in the post content above (starting here).
Share This Post:
Did you try this craft/DIY project?Click here to leave a rating and review!