- Last updated on February 26, 2025
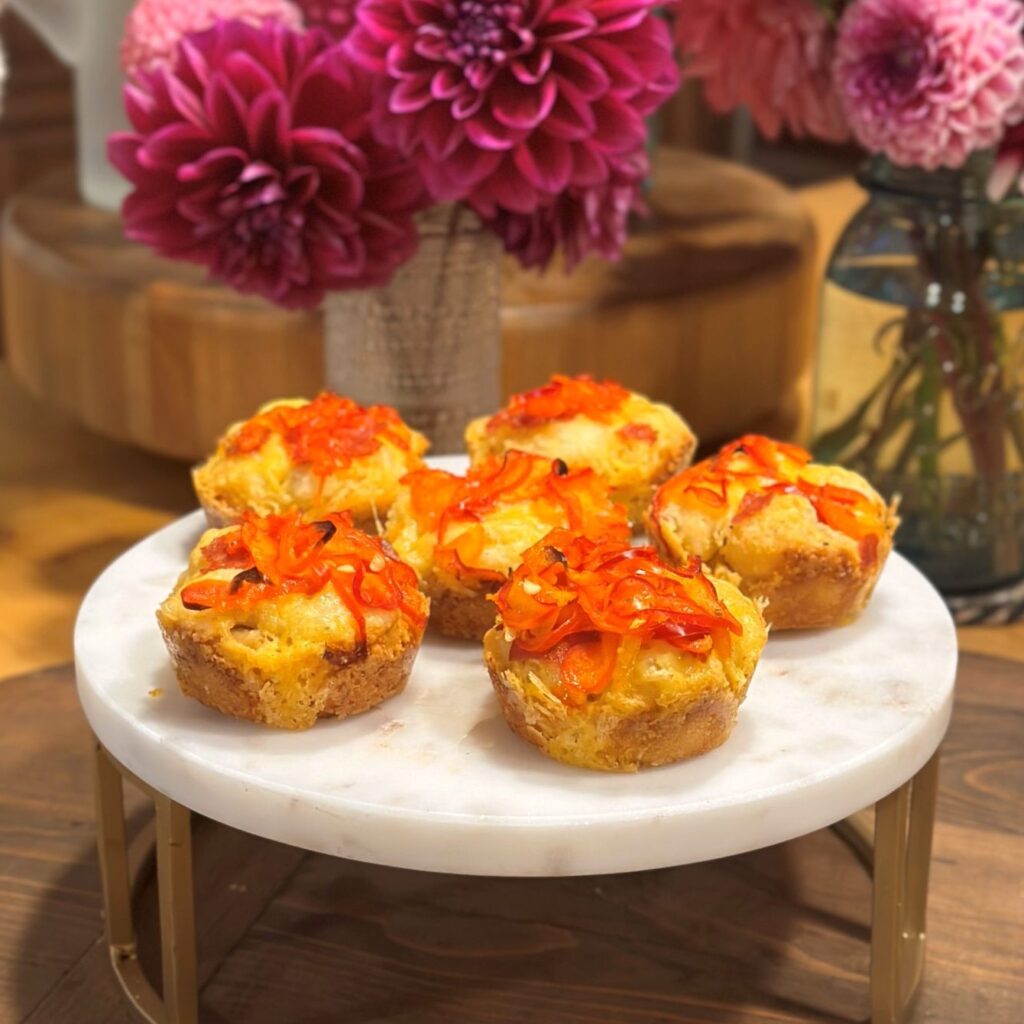
Today, I have another “cheater” recipe for you… super easy, cheesy pull-apart biscuit bites that are the perfect appetizer for game days, holidays, dinner parties, or any time really. These biscuit bites are baked in a cupcake tin giving them a golden, slightly crunchy outer crust. When you pull them apart you get small cheesy and delicious individual bites topped with all your favorite tasty toppings.
If you’re new here, a “cheater” recipe includes some sort of shortcut, making it easier to whip up when you’re in a rush. In today’s recipe, the “cheater” component is a can of Pillsbury Grands! Biscuits, which will be cut up, stuffed with cheese, and dipped in a seasoned butter mixture to make these cheesy, garlicky, completely yummy pull-apart biscuit bites.
Now that your mouth is watering, let’s get into this recipe!

Cheesy Pull-Apart Biscuit Bites
Equipment (Shop on Amazon)
Ingredients
Biscuit Balls
- 1 can Pillsbury Grands! Biscuits (8 large biscuits)
- 3 - 3.5 oz. brick cheese cut into 64 small cubes (See Note 1 below)
- ¾ - 1 cup Kraft Grated Parmesan Cheese
Garlic Butter
- 1 stick salted butter
- 1 tsp garlic powder
- 1 ½ tsp White Pizza Mojo Seasoning (shop on Amazon)
- 1 heaping tbsp. Kraft Grated Parmesan Cheese
Toppings (See Note 2 below)
- 1 cup grated Tillamook medium cheddar cheese
- 3 - 4 pieces pepperoni diced into small pieces
- Approx. 1 cup sliced pickled peppers
- Any other toppings of your choosing!
Instructions
- Preheat your oven to 400°F. Grease a regular cupcake tin and set aside. (See Note 3 below)
- Prep your garlic butter mixture. Microwave the stick of salted butter until completely melted, about 30-45 seconds. Add in the garlic powder, white pizza mojo seasoning, and parmesan. Stir until well combined.1 stick salted butter, 1 tsp garlic powder, 1 ½ tsp White Pizza Mojo Seasoning, 1 heaping tbsp. Kraft Grated Parmesan Cheese
- Cut each Grands! biscuit into 8 equal pieces. Tuck one tiny cube of cheese into each biscuit piece and pinch the dough together to seal. Roll lightly between your palms to form each cheese-stuffed biscuit piece into a ball shape.1 can Pillsbury Grands! Biscuits, 3 - 3.5 oz. brick cheese cut into 64 small cubes
- Dip each biscuit ball into the garlic butter mixture. Then roll in Kraft parmesan to coat the entire surface of the biscuit ball.¾ - 1 cup Kraft Grated Parmesan Cheese
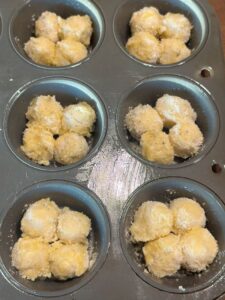
- Grab your greased cupcake tin and place four biscuit balls on the bottom of each cup.
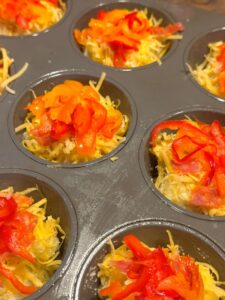
- Now add your toppings! I sprinkle about 1 tablespoon of grated Tillamook cheddar cheese and a bit of diced pepperoni on each biscuit bite before placing about one tablespoon of sliced pickled peppers on top.1 cup grated Tillamook medium cheddar cheese, 3 - 4 pieces pepperoni, Approx. 1 cup sliced pickled peppers
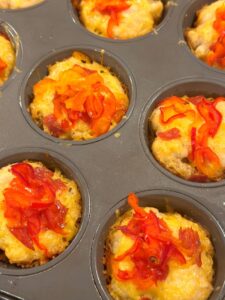
- Bake the biscuit bites for 11 minutes at 400°F. The cheese should be melty and the edges should be golden when they are done, as seen below.
- Serve these pull-apart biscuit bites right out of the oven while they are still warm. Enjoy! Feel free to dip in marinara or garlic butter if you so choose.
Notes from the Happy To Be Here Kitchen
Share This Recipe:
Have you tried these easy, cheesy pull-apart biscuit bites?
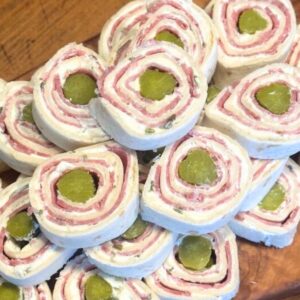
If you have, let me know how you like them down below. If you’re looking for other easy appetizers, check out these yummy taco wonton cups, the easiest dill pickle roll-ups, or these sweet and spicy pickled pepper pinwheels.
Also, make sure you check out my recipe for sweet and spicy refrigerator pickled peppers, which I use as a topping for these biscuit bites. I know I’m biased, but they are so yummy!
Pin the image below to come back to this easy appetizer recipe later.
