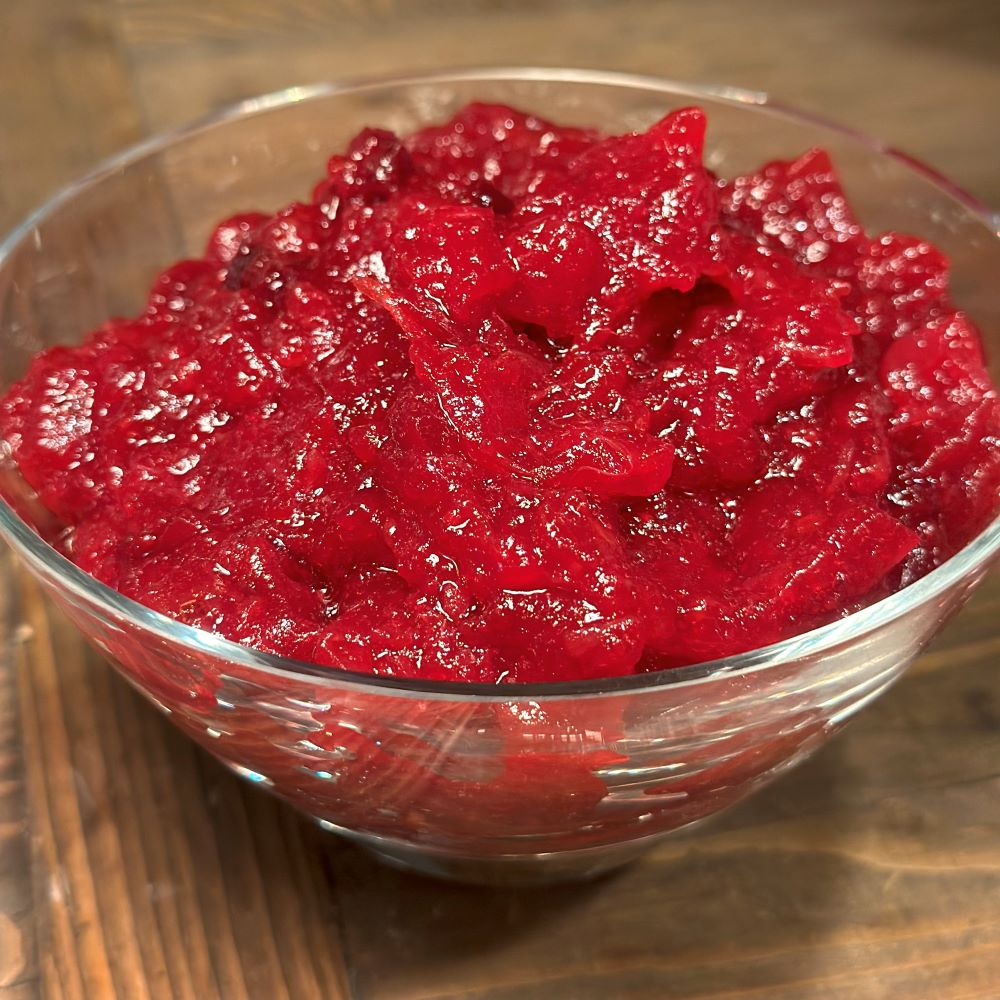
Not only is this cranberry sauce a beautiful addition to any holiday table, but it’s delicious too! This is the exact recipe that I grew up eating every Thanksgiving, and it has definitely stood the test of time. As an added bonus, this cranberry sauce is super easy to make- you only need four ingredients and about 30 minutes to whip it up. White sugar adds some much-needed sweetness to the tart cranberries while orange zest, fruit, and juice add a lovely citrus flavor.
Pair this cranberry sauce with your Thanksgiving or Christmas turkey, add some to your leftovers sandwich, serve it with cottage cheese (my grandma’s favorite), spread it on some toast, or eat it all on its own. Tangy, sweet, and yummy, this cranberry sauce is a must-make during the holiday season. Read on for the recipe!
The Best Homemade Cranberry Sauce (Only 4 Ingredients)
Equipment (Includes Affiliate Links)
Ingredients
- 24 oz fresh cranberries (2 packages, 12 oz. each)
- 2 large navel oranges (approx. 2 tbsp zest, ⅓ cup fruit, and ½ cup juice)
- ½ cup pulp-free orange juice (100% juice, NOT orange juice drink with added sugar)
- 2 cups white granulated sugar
Instructions
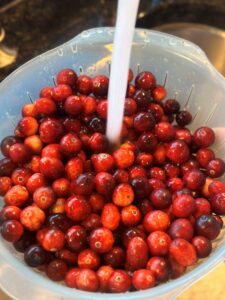
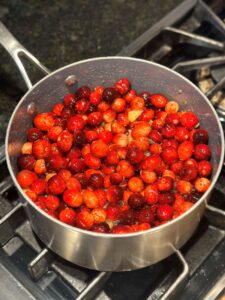
- Rinse the cranberries and drain them in a medium colander. Remove any soft or rotten cranberries and stems. Pour the rinsed and drained cranberries into the saucepan and set aside.24 oz fresh cranberries
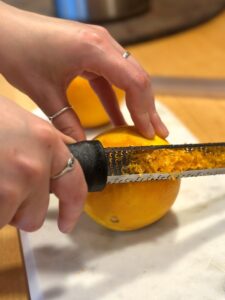
- Rinse the oranges before zesting them using a fine zester, like the Microplane one linked above. Be careful to only pass over each area of the orange peel one time as you do not want any of the bitter white pith in the cranberry sauce. You should end up with approximately 2 tablespoons of finely grated orange zest. Add the zest to the cranberries in the saucepan.2 large navel oranges
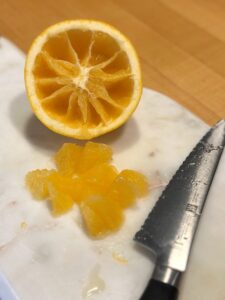
- Cut the zested oranges in half and remove the inner sections of fruit in the same way you would a grapefruit, avoiding any white parts. Most of the orange sections should be about ¼-½" wide. Cut any larger pieces in half so you end up with all pieces being about the same size. Place the orange slices in the pan with the cranberries and zest.I add a generous ⅓ cup of orange slices, which is equivalent to the fruit from 3 of the 4 orange halves. I save the last half an orange to juice, but feel free to use the fruit from all 4 halves.Do NOT throw out the oranges once you have cut out the inside fruit as you're going to juice them in the next step.
- Now, juice all 4 orange halves. Pour the juice into a small measuring cup. You should have approximately ½ cup of juice.
- Add an additional ½ cup of pulp-free orange juice to the measuring cup, for a total of 1 cup orange juice. Pour the juice over the cranberries in the saucepan.½ cup pulp-free orange juice
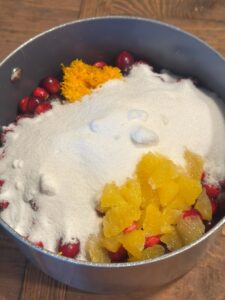
- Add 2 cups of white granulated sugar to the saucepan.2 cups white granulated sugar
- Place the pan on the stove, turn the heat to medium, and stir together all ingredients in the pan.
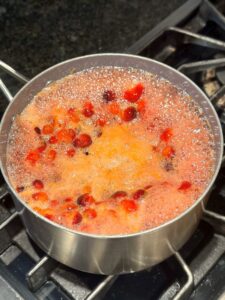
- Cook on medium heat, stirring occasionally, until the sauce reaches a low boil (approximately 7-8 minutes). The berries should be starting to crack and burst and the sauce should be bubbling up, as seen below.
- Continue to cook on medium heat for another 8-9 minutes, stirring more and more frequently to ensure that the sauce does not burn. As you stir the sauce, you can press some of the cranberries against the side of the pan with your spatula spoon to help break them down more quickly. At this stage, remove a small spoonful of the sauce and allow it to cool. Taste for sweetness, and add a bit more sugar if it is still too tart for your liking.
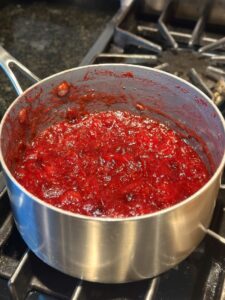
- For the final 5 minutes of cooking, turn the heat down to medium-low and stir frequently. At this point, the liquid in the cranberries should have reduced significantly and nearly all of the individual berries should be broken down. Total cook time should be about 20-22 minutes. However, cook the sauce until it reaches the consistency you prefer, keeping in mind that the sauce will become much thicker when cooled. Add some extra orange juice to the sauce if you feel that it has become too thick. (See Note 1 below)
- While still hot, put the cranberry sauce in a medium LocknLock or other airtight container. Cool in the fridge for 2-3 hours. The cranberry sauce will thicken significantly when cooled in the fridge. Mix the sauce well before serving.
Notes from the Happy To Be Here Kitchen
Share This Recipe:
Have you tried this cranberry sauce recipe?
If you have, leave a comment and rating below to let me know how you like it. Then, check out some of my favorite holiday side dishes…
The Best Creamy Mashed Potatoes
Pin the image below to come back to this holiday recipe later.
