The Story of the Upside Down Turkey
Once upon a time, many Thanksgivings ago, my mom and I were prepping for an early Thanksgiving meal (a 12 pm lunch instead of our typical 5 pm dinner). To get everything done and on the table by noon, we had to start the turkey very, very early in the morning.
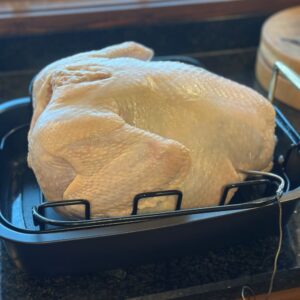
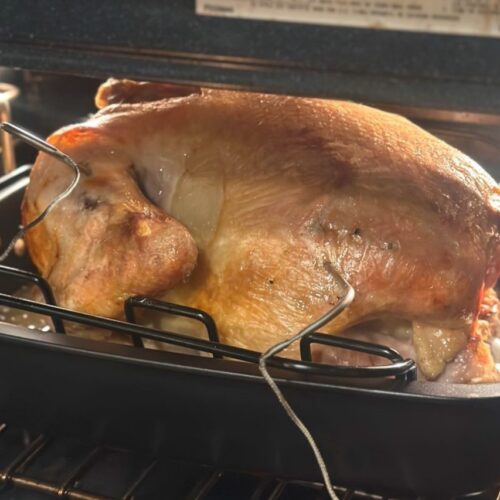
Sleepily, we got the turkey prepped and placed in the roasting pan. It looked a little something like this…
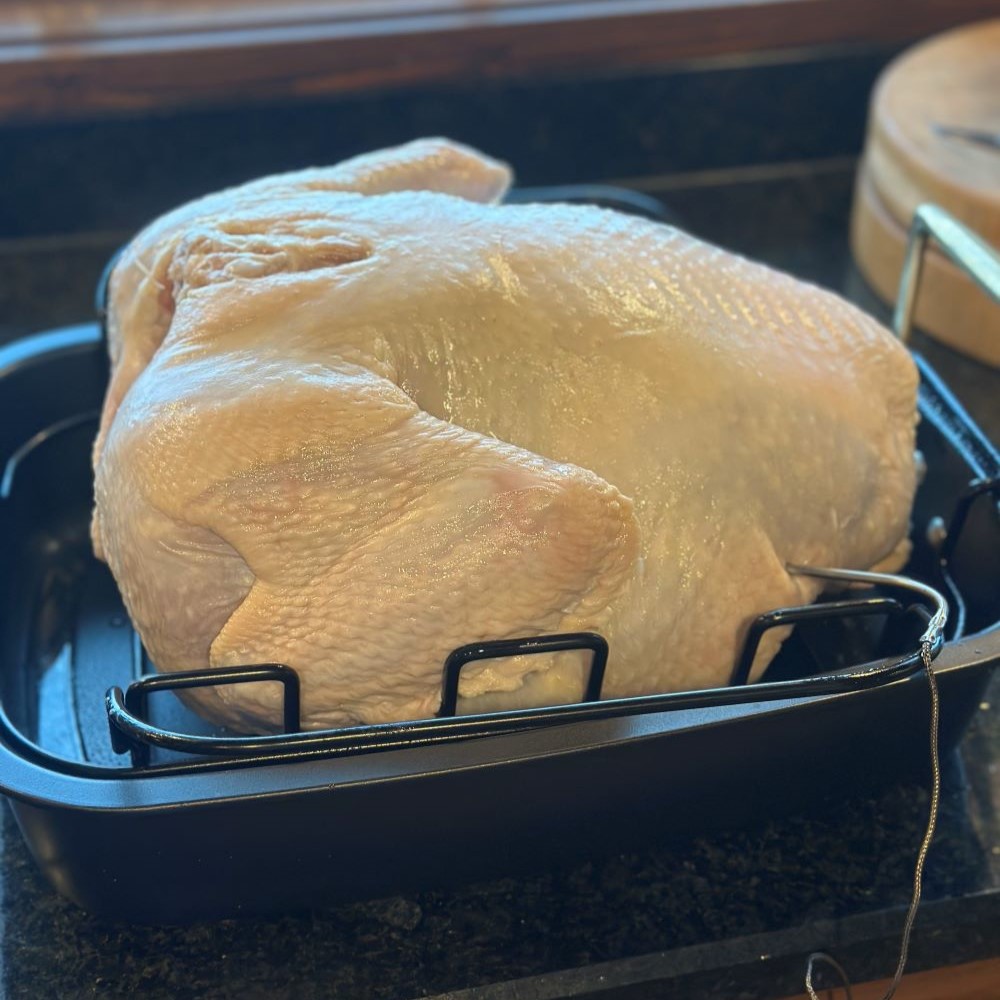
What is wrong with this picture? Let’s all say it together- that turkey is upside down.
Maybe it was the lack of sleep from making pumpkin pies until 2 am or the fact that neither one of us particularly likes turkey, but we did not realize that we were looking at an upside down turkey. Sure, it looked a little weird… a little skinny, perhaps. How did we, of all people, end up with the one strange-looking, small-breasted turkey in all of Walmart?
But, what were we going to do at this point? It was Thanksgiving and we needed turkey, so we roasted it as usual.
Flipping the bird, accidentally in this case, turned out to be the most fortuitous mistake in Thanksgiving history. The turkey that year was the absolute best I had ever eaten. It was flavorful and extra juicy- no need to drown it in gravy! Now we exclusively cook our Thanksgiving turkeys upside down (but on purpose).
Why Cook Your Turkey Upside Down?
No more dry turkey! As the turkey cooks, the juices will run down on to the breast meat, essentially allowing the turkey to baste itself.
It’s easy. No basting, no fuss- this really is the easiest way to ensure your turkey will be moist and taste delicious. We also never flip the turkey while roasting, as we carve it in the kitchen before serving and don’t need a picture-perfect golden breast. Thus, you don’t really need to babysit the turkey as it roasts.
How to Roast Your Turkey Upside Down
Want to try upside down turkey for your next Thanksgiving or Christmas meal? Here’s how…
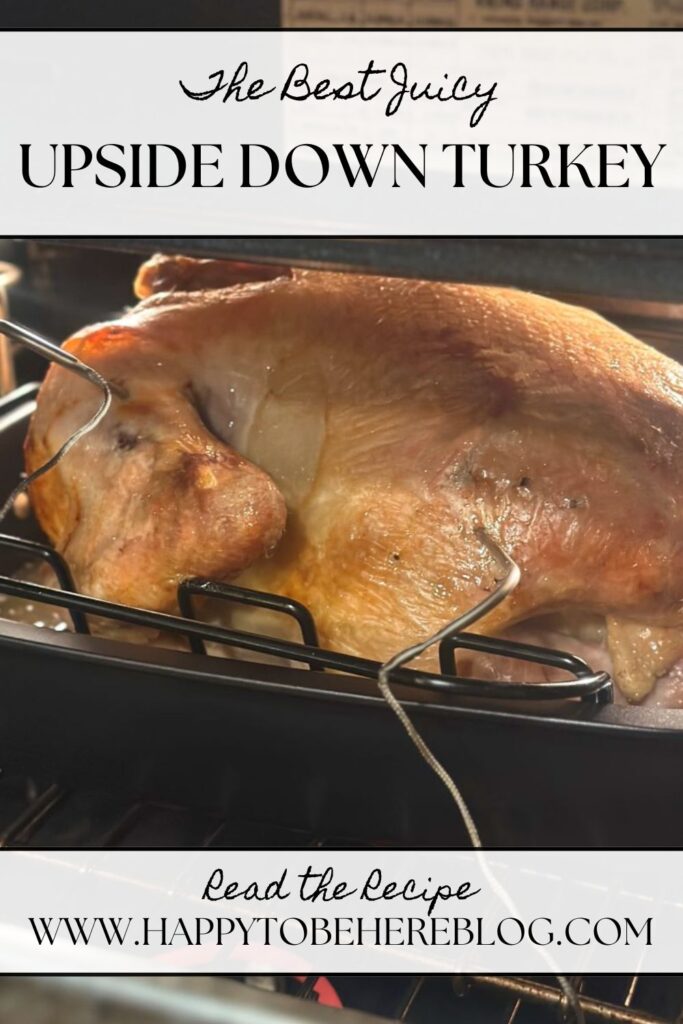
The Best Juicy Upside Down Turkey
Equipment (Includes Affiliate Links)
Ingredients
- 1 large butterball turkey (the turkey in these pictures was 18 lbs)
- 1 large sweet onion
- 1 apple
- 6 tbsp salted butter softened
Instructions
- Prior to roasting, defrost your turkey. If you are using a frozen turkey (and I'm guessing most of you will be using a frozen turkey like me), allow enough time for the turkey to completely thaw in the refrigerator. I assume that about 4-5 lbs will thaw per day, meaning an 18 lb turkey will sit in our fridge for about 4-5 days before Thanksgiving.1 large butterball turkey
- Day of Roasting. Preheat your oven to 450°F.
- Prep your turkey. Now that your turkey is fully thawed, remove all inner parts (bag of giblets, neck, etc.). Cut the sweet onion in half and remove the outer skin before placing it in the turkey cavity. Cut the apple in half and add it to the cavity as well. The apple and onion are not to be eaten. They just provide a nice flavor to the juices that will be used to make gravy later. Carefully separate the skin from the meat of the turkey breast and rub the softened butter under the skin. Tie together the turkey legs using cooking twine. Place the turkey upside down (breast down) on the rack of your roasting pan and tuck the wings under to ensure they don't burn. Then, place at least one meat thermometer in the turkey thigh, without touching the bone. I typically put in two thermometers, one in the thigh and another in a different area of the turkey to ensure all parts are cooked. Cover the entire pan with tin foil.6 tbsp salted butter, 1 large sweet onion, 1 apple
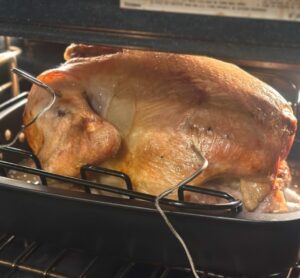
- Roast your turkey. Roast your turkey for 15 minutes at 450°F, before turning the heat down to 340°F (without opening the oven door). Finish roasting the turkey at this temperature, taking the tin foil off when the turkey has approximately 20 minutes of cooking time left. The total cooking time for your turkey will depend on its weight and how much you stuff inside it. It is generally recommended to roast the turkey for 13-15 minutes per pound, and I always allot enough time for 15 minutes per pound. That means an 18 lb turkey like the one we made this Thanksgiving would need about 4½ hours to cook. However, you NEED to watch the internal temperature of the turkey on your thermometer(s). The turkey is done once the internal temperature has reached 165°F in the thickest part of the thigh. I also check other areas of the turkey, to ensure that it is done and safe to eat, and I would recommend you do the same.
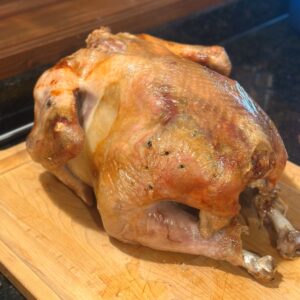
- Allow the turkey to rest- DO NOT SKIP THIS STEP. Once fully cooked, remove the turkey from the oven and place it breast down on your carving board using turkey lifters (linked above). The turkey lifters are great because they provide a lot of stability and allow you to easily and safely move the turkey out of your hot pan and onto the board. Cover the turkey with tin foil and kitchen towels to keep it warm and allow it to rest for a minimum of 30 minutes. This resting time will allow the juices to be redistributed throughout the meat. If you do not let the turkey rest long enough before carving then the moisture will be lost upon cutting it, making the entire upside down cooking process pointless.
- Carve your turkey. Now that your turkey has rested for at least 30 minutes, flip it so the breast is up and carve away! Keep in mind that this upside down method will not give that picture-perfect golden breast to serve and carve at your Thanksgiving table, as it was cooked on the bottom of the pan. We always carve the turkey in the kitchen before serving it on a large platter, so there is no concern with this for our household.
Share This Recipe:
Did you try roasting your turkey upside down?
Let me know how you liked it down below! Then check out some of my other favorite holiday recipes…
The Best Homemade Cranberry Sauce (Only 4 Ingredients)
The Best Creamy Mashed Potatoes
My Favorite Chocolate Peppermint Crinkle Cookies
Pin the image below to come back to this turkey recipe later.
