Why You’ll Love This Homemade Pizza Dough:
- Chewy, Soft, and Crispy Crust Every Time—there’s nothing quite like the texture and taste of homemade pizza crust; store-bought just can’t compete!
- Requires Only 6 Ingredients—flour, yeast, water, honey, salt, and oil.
- Easy to Make, Even For Beginners—no matter your skill level, you can make this dough.
- Important Notes Included—I have shared notes, tips, and tricks concerning everything from activating your yeast to the flour I use, proofing the dough, and more below. I encourage you to read through all of them before diving into the recipe!
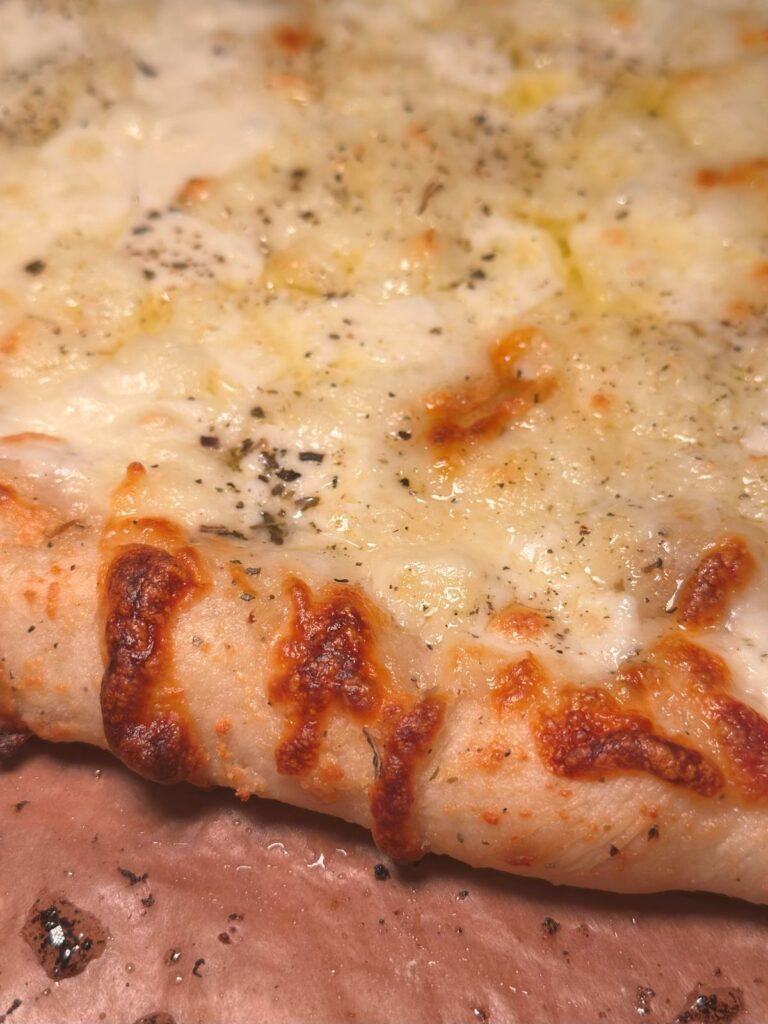
Switch to Homemade Pizza Crust…You’ll Never Go Back
The taste, texture, and quality of the dough is just so much better than any premade crusts you can find in the grocery store. The recipe I’m sharing today requires only 6 ingredients and can be made same day, so you can have fresh, homemade pizza in just a few hours. And, with the notes and tips I have included in this post, it can easily be made by anyone at any skill level!
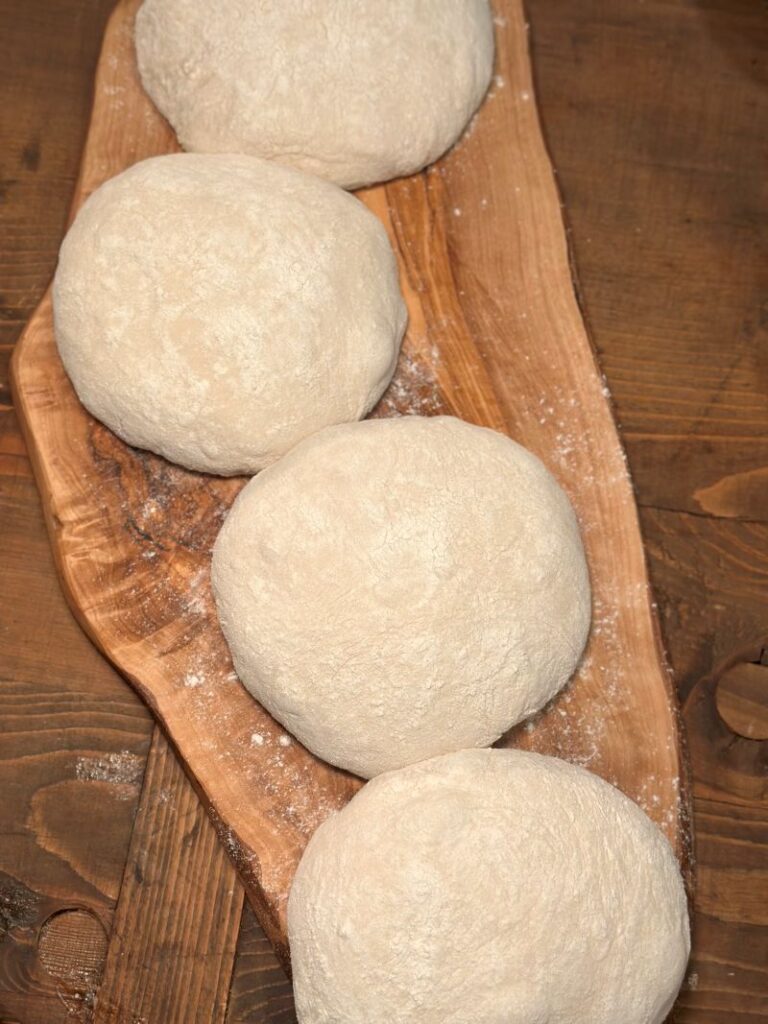
The 6 Ingredients You Need to Make Homemade Pizza Dough
Flour: There are a lot of opinions out there on the best flour to use in homemade pizza dough. I use pizza flour in this recipe, specifically King Arthur ’00’ Pizza Flour (shop on Amazon). Their pizza flour in particular bakes very well in our home oven and in our Bertello pizza oven.
In case you’re wondering, double zero (’00’) refers to the grind of the flour, which is ultra-fine. Pizza flour itself has a higher protein content than all-purpose flour which allows more gluten to develop, resulting in a chewier pizza crust.
Can you use all-purpose flour instead? Yes, you can sub in all-purpose flour for the pizza flour I use. The texture may not be exactly the same, but you’ll still end up with a delicious pizza crust!
Yeast: Either instant or active dry yeast will work for this recipe.
Honey: Helps activate the yeast.
Water: Warm water will help activate the yeast and will (obviously) add hydration to the dough.
Salt: For flavor!
Avocado oil: With a mild flavor and a high smoke point, avocado oil is my personal favorite for coating the pizza dough before proofing. You can also use olive oil or your personal favorite neutral oil.
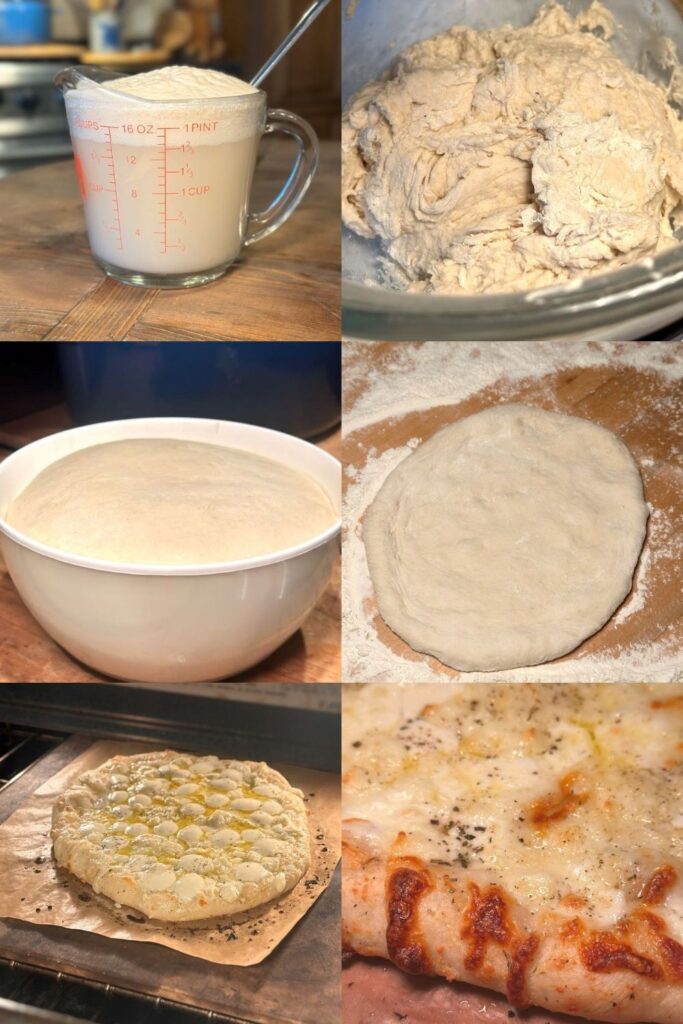
Important Steps to Making Homemade Pizza Dough:
Activating the Yeast
As I mentioned earlier, either instant or active dry yeast will work for this recipe. You want to activate the yeast in warm but not hot water—if the water is too hot it will kill the yeast.
Heat your water until it is about 110 to 115 degrees, no hotter. Then add the honey and yeast, stirring until all the yeast is dissolved. You’ll be able to tell that your yeast is activated when foamy bubbles begin to form on top of the water.
Proofing the Dough
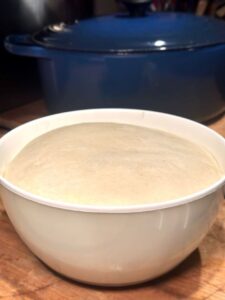
This pizza dough requires two proofs—you’ll let the dough rise for about an hour, or until it doubles in size. Then, you’ll punch it down and let it proof for another 30 minutes.
You’ll want to place your dough in a warm place for it to rise—I put it under our range’s heat lamps. Many people like to place their dough in the oven with just the oven light turned on and some ovens even include a dedicated proofing function. Your home may be warm enough that you can simply set the dough out on the counter to rise.
No matter the method you use, keep an eye on the dough so as to not let it overproof. Overproofing the dough will cause it to become difficult to shape, and may cause an uneven dough texture and overly yeasty taste.
Signs that your dough is overproofed:
- Does not spring back when poked
- Difficult to shape
- Slightly gray coloring
- Overly large, irregular air pockets
You may also choose to “cold proof” this pizza dough. After kneading the dough and placing it in an oiled bowl, cover the bowl with plastic wrap and place it in the fridge for up to a couple days. This longer, colder proof will slow down yeast activity and allow more flavor to develop.
I typically prefer the “warm proof” method, since it allows for a quicker rise and enables you to make pizzas same day. However, if you want to prep this dough ahead, just throw it in the fridge and bake your pizzas the next day!
Shaping the Pizzas
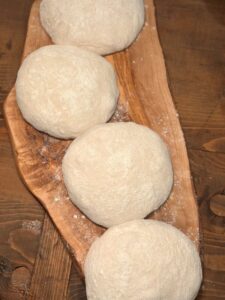
Once you’ve divided the dough and rolled the pieces into balls, dunk them in flour before you start shaping the pizzas. This light, even coating of flour will reduce sticking and make shaping the dough easier.
You may be tempted to grab your rolling pin when you begin to form the pizzas—but I urge you, do not roll the pizza dough out! You have spent more than an hour letting this dough rise, aerating it and creating a lighter texture. Rolling it out will smush all of this air out of the dough, creating a dense and uneven crust.
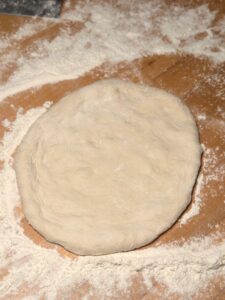
Instead, gently push the dough outward with your fingertips, starting in the middle and working your way outwards. Leave a thicker border for your crust. You can also gently stretch the dough—just do not bring out that rolling pin!
More Notes, Tips, & Tricks for Perfect Pizza Dough Every Time
- Use a kitchen scale to measure your flour. I provide both a volume and weight measurement for the flour below (for pizza flour 1 cup = approx. 116 g). If you measure by volume, make sure you spoon and level your flour. If you want to make sure your proportions are perfect, use a kitchen scale (like this one on Amazon) to measure the flour. I have tried measuring both ways—when I spooned and leveled 5 cups of flour, I was within about 4-5 g of the 580 g total, a relatively small difference.
- Preheat your oven and pizza stone fully. You want to make sure your pizza stone is very hot before baking your pizza on it. Give the stone enough time to preheat—at least 45 minutes.
- Use parchment to bake the pizza. If you want to avoid any chances of your pizza sticking to the peel or pizza stone, bake it on a piece of parchment paper (these pre-cut sheets on Amazon are the best). You’ll still get that crisp bottom on your pizza, without the hassle of the dough sticking to the peel or stone.
I know this may sound obvious, but make sure you’re using parchment paper NOT wax paper—some people tend to confuse the two, and wax paper would be a disaster. Also, make sure you check the temperature your parchment paper can tolerate before using it to bake pizza. For example, the brand that makes the parchment sheets I use says they’ll “easily withstand” temps up to 450 degrees, and we have used them to bake pizzas at 475 degrees with no problem. Some parchment sheets are only rated for 425 degrees, so make sure you check yours.
- If you don’t have a pizza stone, bake your pizza on a half sheet pan. You can choose to bake your pizza on the sheet pan as you would any other baked good, or you can treat the sheet pan like a mock pizza stone. To do this, place your sheet pan rim-side down on the middle rack of your oven and allow it to preheat. Then, add and remove your pizza to the pan with your pizza peel. The results may not exactly mimic that of a pizza stone, but it will do!
If you are going to bake pizzas on a sheet pan, I recommend using a non-ridged light pan (like the ones I love from Nordic Ware—shop on Amazon). A dark pan may become much too hot and I would not recommend using any type of coated pan at the high heat required to bake pizza.
Ideas for Your Next Pizza Night
Since this dough is relatively easy to whip up—you just need enough time for the dough to rise twice—it’s perfect for a fun pizza night. Here’s some inspo…
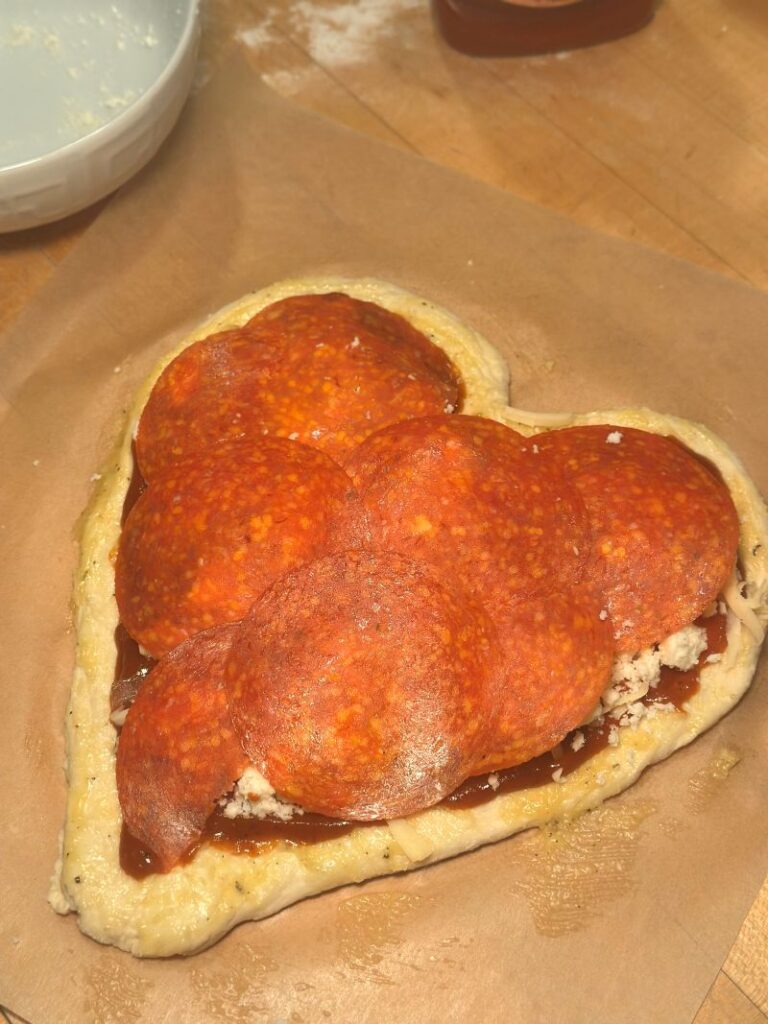
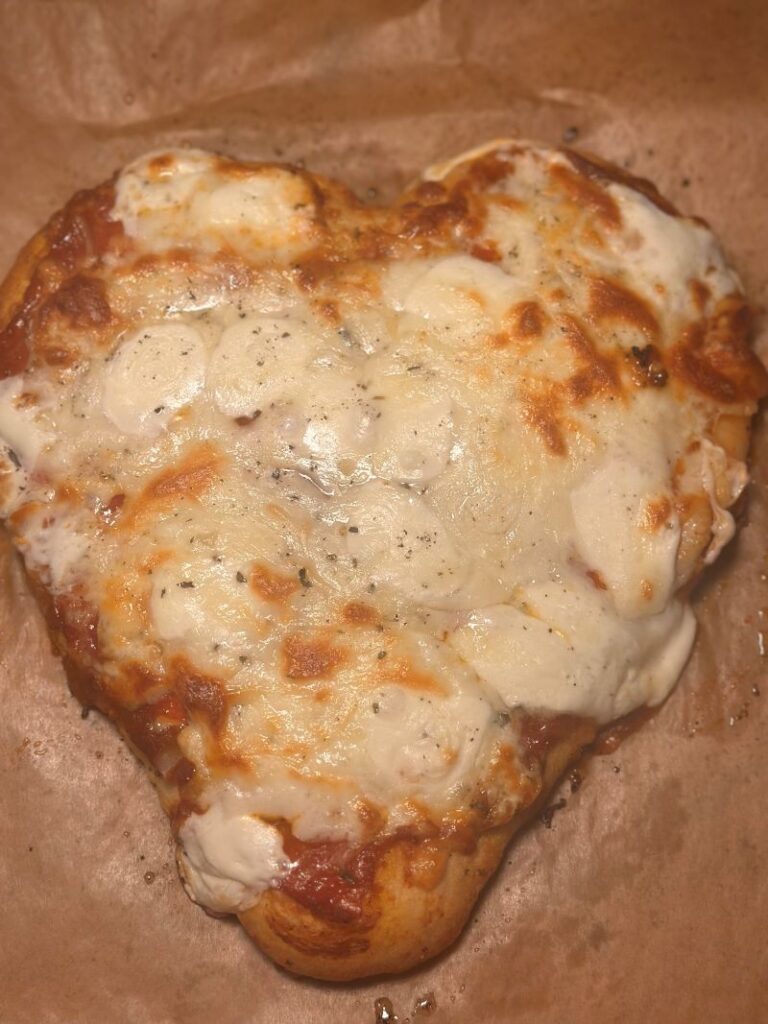
Valentine’s Day Pizzas
Make your pizzas heart-shaped and layer on your favorite toppings for a Valentine’s (or Galentine’s) pizza night.
Spooky Pizza Night
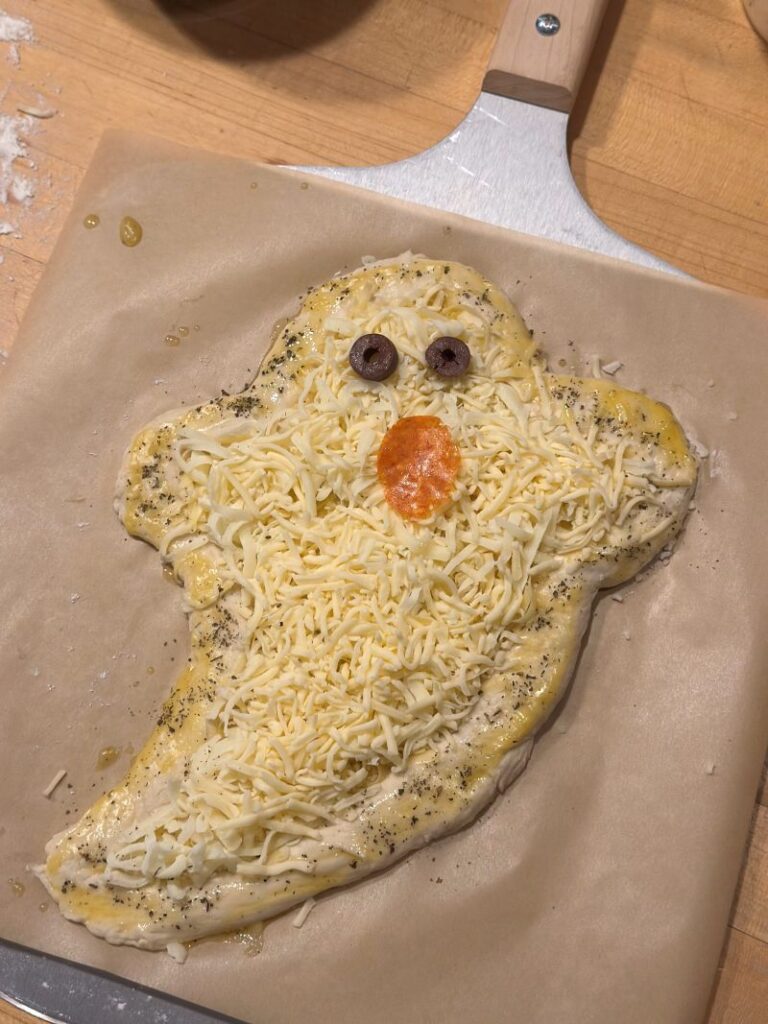
For a Halloween-themed pizza night, shape your dough into pumpkins, mummies, ghosts, or any other spooky figures you can think of. Then, use pepperoni, pickled peppers, olives, and your other favorite toppings to create faces on each.


Shop Some of My Pizza Favorites on Amazon
- King Arthur ’00’ Pizza Flour is my favorite for this recipe.
- A pizza stone can turn your home oven into a pizza oven.
- If you don’t have a pizza stone, use a non-ridged light sheet pan, like my favorite one from Nordic Ware.
- A pizza peel is a must-have, and these pre-cut parchment sheets don’t roll up and guarantee that your pizza won’t stick to your peel or stone.
- If you don’t want to use parchment, consider coating the bottom of your crust with semolina flour.
- Aged balsamic vinegar (or balsamic glaze) and/or truffle oil are perfect for drizzling over fresh-baked pizza.
- Homemade pizzas would look beautiful served on this footed round wood cutting board.
- If you’re in the market for an outdoor pizza oven, I highly recommend the Bertello SimulFIRE—read my full review here.
Read on for the BEST homemade pizza dough recipe.
Then leave a rating and review once you’ve tried it for yourself. And, tag the blog on Instagram (@happytobehere.blog) with pictures of your pizzas—I’d love to see them!
The Best Homemade Pizza Dough
Equipment (Shop on Amazon)
- KitchenAid Stand Mixer with paddle and dough hook attachments
- Pizza Stone OR
Ingredients
- 2 cups water
- 1 tbsp honey
- 2½ tsp instant or active dry yeast
- 5-5¼ cups '00' pizza flour spooned and leveled; or about 580-609 g
- 2½ tsp salt
- 1 tbsp avocado oil or olive oil to coat the bowl
Instructions
- Place the water in a microwave-safe bowl or cup and heat until it reaches 110°F-115°F. Add the honey and stir. Then, add the yeast and stir until it has fully dissolved.2 cups water, 1 tbsp honey, 2½ tsp instant or active dry yeast
- Let the yeast mixture sit for approx. 5 minutes. You should see small, foamy bubbles forming on the surface, which is a sign that your yeast is activated.
- In the bowl of your stand mixer, add 5 cups of flour (about 580 g), leaving ¼ cup (about 29 g) set aside in case you need it. Add the salt and whisk together.5-5¼ cups '00' pizza flour, 2½ tsp salt
- Make a small well in the dry ingredients and pour the yeast mixture in. Briefly mix the wet and dry ingredients using the paddle attachment on your mixer (for about 30 seconds). You want the liquid to absorb and the dough to look shaggy.You can also use a regular spatula or spoon to accomplish this, instead of the paddle attachment.
- Switch to the dough hook attachment. Mix the dough on low speed (maximum level of 2) for about 10 minutes. Scrape down the bowl from both the sides and bottom occasionally. It can also be helpful to completely flip the dough about halfway through mixing to make sure all ingredients are well incorporated. Important!!! After about 4 minutes of kneading, your dough should be starting to pull away from the sides of the bowl to form a ball. If your dough is not doing this, it may be a bit wet. At this point, add flour one tablespoon (about 7-8 g) at a time until the dough begins to pull away from the bowl—this is what the extra ¼ cup you set aside earlier is for!5-5¼ cups '00' pizza flour
- Take the dough out of the stand mixer and briefly knead it by hand on a floured surface (for about 2 minutes). Then, form the dough into a ball and place it in a medium bowl that has been coated in avocado oil, olive oil, or other neutral oil of choice. Flip the dough in the bowl so all sides of the ball have been coated in oil.1 tbsp avocado oil or olive oil
- Cover the bowl with plastic wrap and place in a warm place for approximately one hour or until the dough has doubled in size. Punch the dough down and allow the dough to proof again, this time for about 30 minutes.
- Preheat your pizza stone for 45 minutes at 450°-475°.
- Split your dough into 4 equal parts and gently form each into a ball. Dunk the ball in flour to coat all sides lightly.
- Form your pizzas. Do not use a rolling pin. Simply push the dough using your fingertips into a 10" circle, leaving a thicker edge of dough for the crust. Place the dough on a piece of parchment or coat the bottom of the crust with semolina flour to prevent sticking.
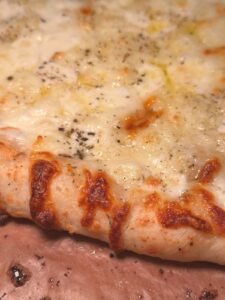
- Add your favorite sauce and toppings to the dough. Bake until the crust is golden brown and your toppings are cooked through (which will depend on what you have topped the pizza with and your specific oven temp).
- Store any leftover dough in a bowl covered with plastic wrap or in an airtight container coated with avocado oil or other oil of choice in the fridge.
Notes from the Happy To Be Here Kitchen
Share This Recipe:
RECOMMENDED FOR YOU
Pin the image below to come back to this recipe later.








5 Responses
Halved recipe works great
Thanks, glad to hear it!
Finally a simple, tasty dough recipe – great for family pizza night. Easy for everyone to make their own pizzas. This recipe is a keeper.
Thank you, Julie! So glad to hear this!!
So close. Pizza is Italian and would be made with olive oil not avocado oil. Otherwise you would be spot on.